Getting started · Guide 01
Your first flock: the first 30 days
Choose the right number of hens, finish the setup before they arrive, and build a routine that catches small problems early.
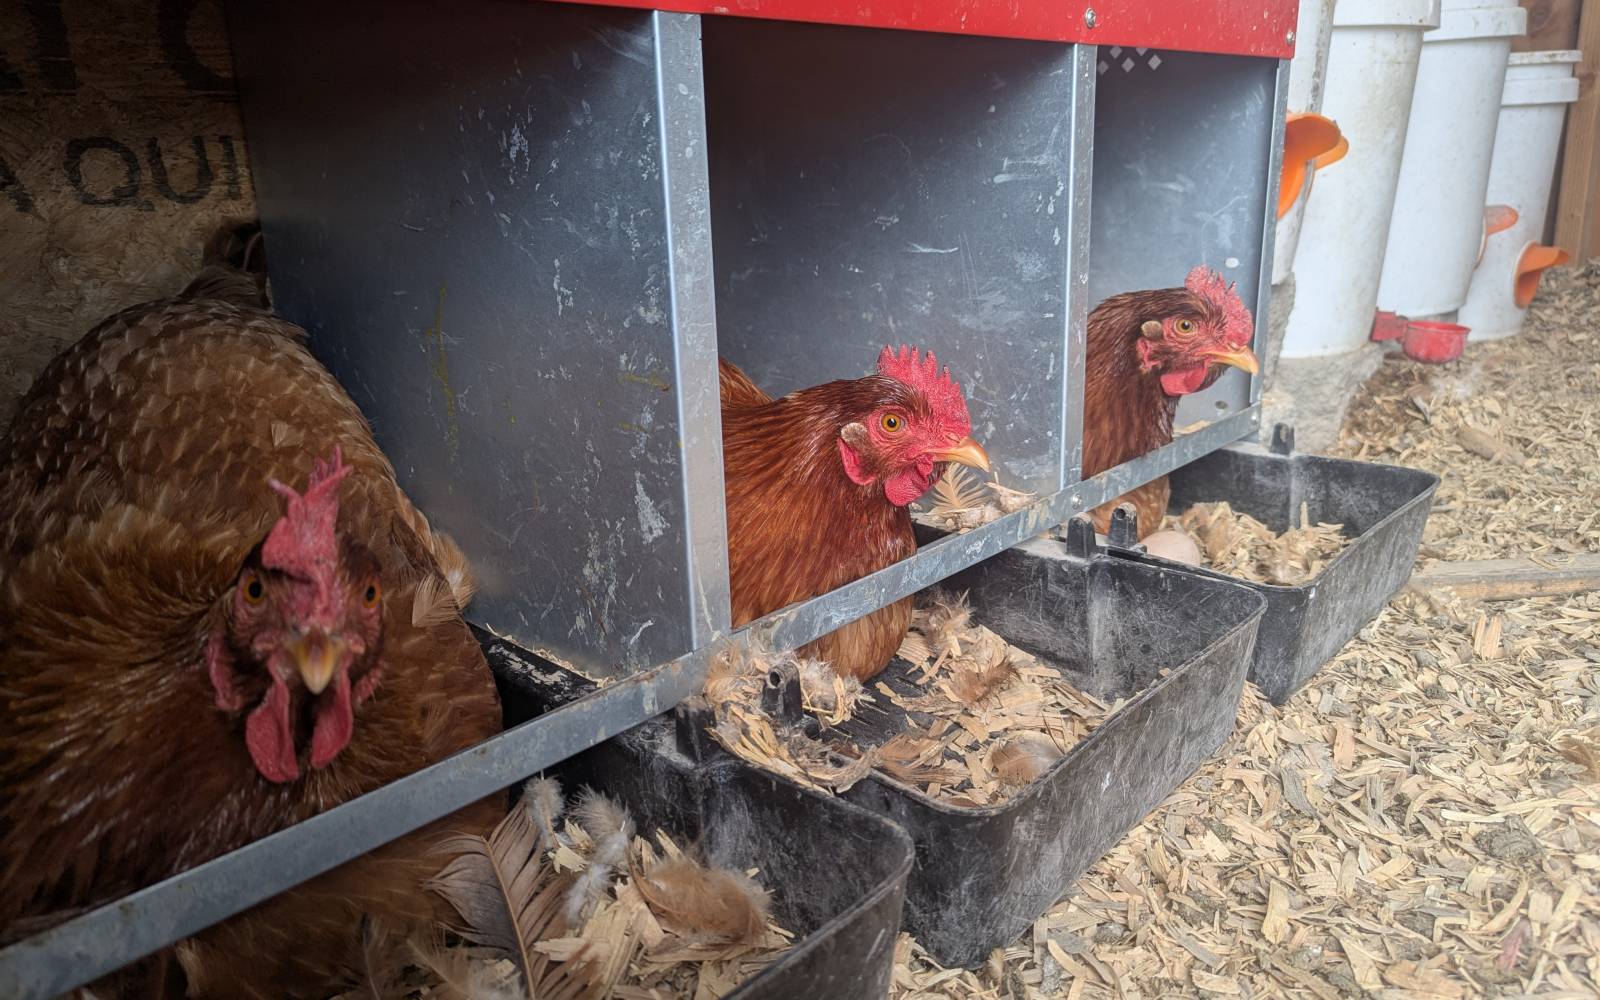
Start with four to six hens, finish every essential part of the coop first, and make consistency your main management tool.
Start with a flock you can observe
Four to six hens is a sensible first flock for most households. It is large enough to reveal normal flock behavior but still small enough that you can notice who is eating, who is hanging back, and which bird has changed her routine.
Before buying birds, check your local rules, decide who will care for them when you travel, and confirm that your budget covers secure housing as well as feed. Chickens are inexpensive to buy and easy to under-house.
- Four hens keeps the workload manageable.
- Six hens gives you a little cushion in egg production.
- Skip the rooster unless your rules and goals clearly support one.
Build for bad weather and tired evenings
A coop should work on the least convenient day of the year. You need to be able to reach the eggs, inspect the roost, refill water, and close every latch without crawling through a mess.
For standard hens, plan around four square feet per bird inside and at least eight to ten square feet per bird in a run. These are planning figures, not permission to crowd birds. More usable space generally means less bullying, cleaner bedding, and fewer management problems.
- High ventilation that does not blow directly across the roost
- A dry floor and drainage away from the building
- Hardware cloth at vulnerable openings
- One nest box for roughly every three or four hens
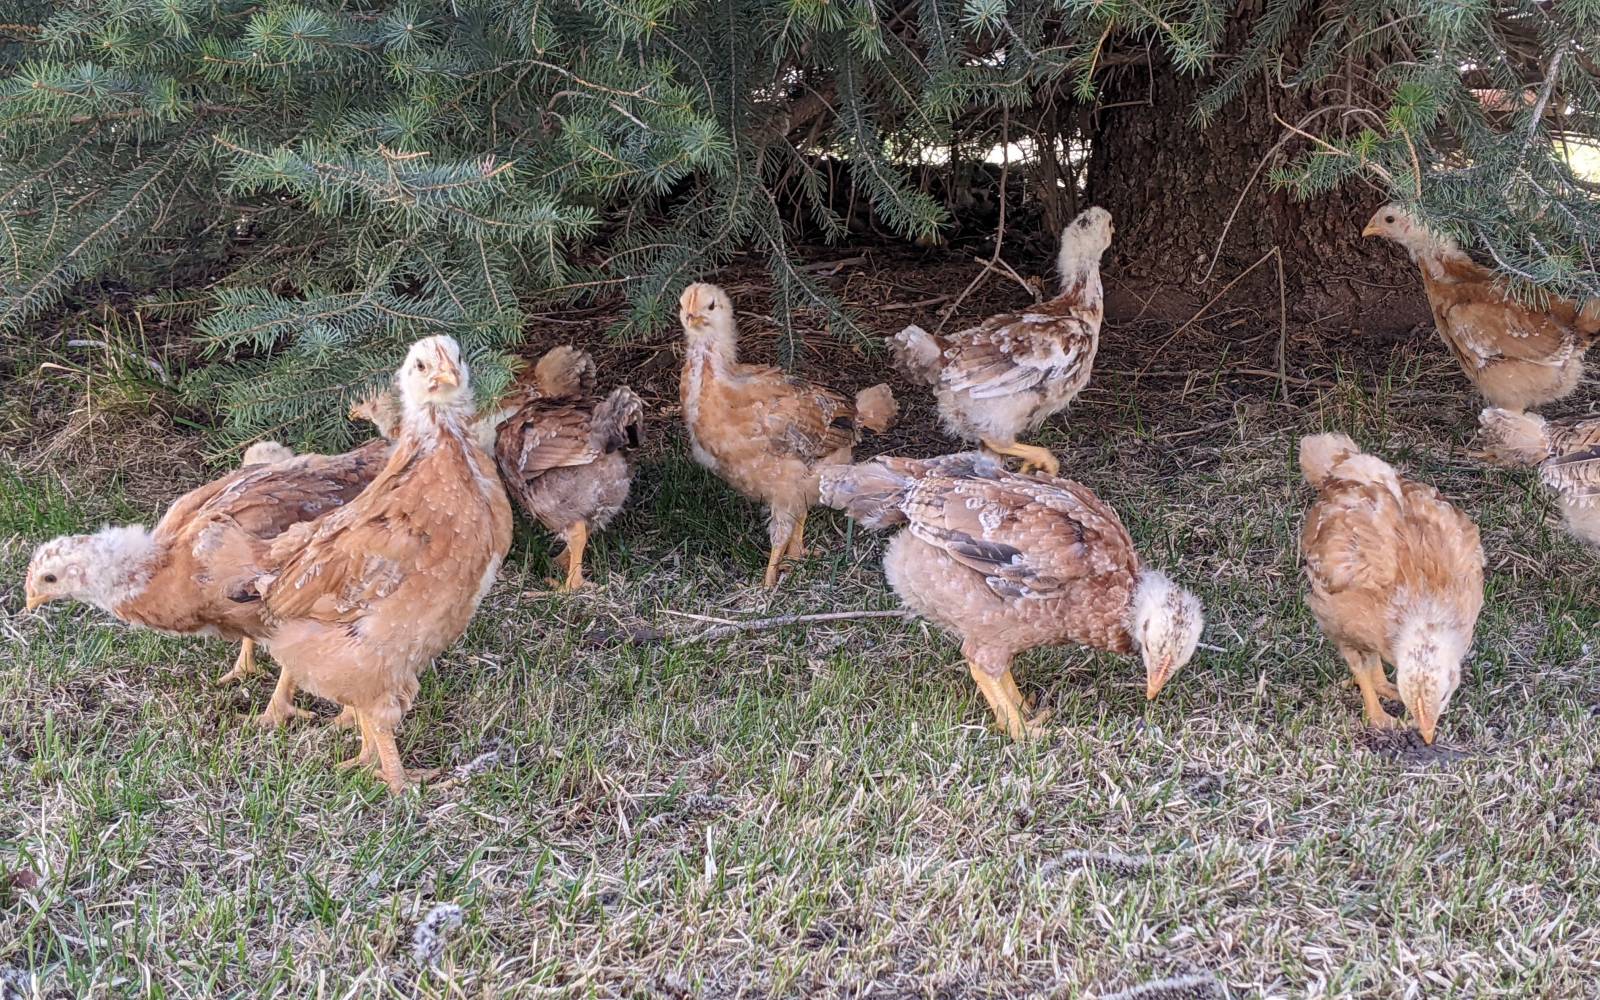
Use a plain daily rhythm
Healthy birds teach you what normal looks like. They leave the roost with purpose, show interest in feed and water, scratch, preen, dust-bathe, and settle predictably at night. Spend two quiet minutes watching before you start chores.
Refresh water, check feed, collect eggs, scan the ground for unusual droppings, and count birds at lockup. That small routine catches more trouble than constantly buying new supplements or gadgets.
- Morning: water, feed, and a quick head count
- Midday when possible: collect eggs and check heat or weather stress
- Evening: count every bird and test every latch
What to learn during the first month
The first month is for learning how your birds use the space. Watch where bedding stays damp, whether timid hens can reach feed, and how the flock settles at dusk.
Change one thing at a time. A stable routine makes cause and effect visible; constant tinkering hides it. Keep brief notes on laying, weather, and anything unusual so you have a record when a pattern develops.
Buy the useful supplies first
Chicken wire contains chickens but does not reliably stop a determined raccoon, dog, coyote, or other strong predator. Use hardware cloth and structural fasteners at vulnerable openings. Give the flock enough usable space that lower-ranking birds can leave conflict, and place the coop where drainage, winter sun, summer shade, and prevailing wind work in its favor.
Chickens often return to a familiar roost near dusk, but I never assume every bird made it inside. I count the flock, check likely hiding and nesting places, and close the door only after locating each bird.
- Store feed where rodents and water cannot reach it.
- Keep a clean backup feeder and waterer.
- Prepare a separate observation pen before a bird becomes sick or injured.
- Choose absorbent bedding you can replace and compost consistently.
The most common beginner mistakes are pretty ordinary
Build the initial enclosure with future flock size in mind. Added birds need more roost length, feeder access, water capacity, floor area, and places to step away from aggression. Watch newcomers eat and settle at night rather than assuming acceptance because the first chase ended.
Finish the drainage, hardware cloth, latches, roosts, and water setup before chicks arrive. Build on stable ground with materials that tolerate weather and cleaning. Extra usable space costs less during construction than correcting crowding after the flock moves in.
Buy the boring equipment first
Spend first on the pieces that prevent daily failures: a secure enclosure, a water system you can scrub, a feeder that stays dry, metal storage for feed, and a transport crate. Decorative signs, novelty treats, and automated gadgets can wait. If the basic setup is difficult to clean or refill, it will be neglected when the weather is bad or the household is busy.
Keep a small reserve of complete feed, spare bedding, a second waterer, disposable gloves, a kitchen scale that reads in grams, and the contact information for a poultry-capable veterinarian. A backup waterer solves a cracked container immediately. A scale turns 'she feels lighter' into a record that can be compared from one week to the next.
- Test every latch with one hand occupied
- Carry a full waterer from the tap to the run before birds arrive
- Confirm that feed storage closes against rodents
- Place a crate where it can be reached after dark
Run a seven-day setup rehearsal
Operate the empty coop for a week before pickup. Open it at the time you expect to do morning chores, fill the waterer, walk the perimeter, and close it at dusk. Rain or wind during the rehearsal reveals runoff, rattling panels, wet feed, and doors that bind before animals depend on the system.
Write down how long the routine takes and who covers it when you are away. A flock needs the same checks on weekends, holidays, and sick days. Leave instructions another competent person can follow, including which latches to check and how much water to provide.
Use the first month as a baseline
Once the birds settle, photograph the coop layout and record each hen's approximate weight, comb appearance, leg color, and distinguishing marks. Note normal bedtime order and which birds eat first. Those records are far better than memory when a bird later changes position in the flock.
Review the notes after thirty days. Fix persistent wet spots, feeder bottlenecks, sharp edges, and places where a hen can be cornered. Do not rebuild the entire system around one odd afternoon. Repeated observations across several days are stronger evidence than a single moment.
Decision table
What to do with what you see
| Signal | Check next | Response |
|---|---|---|
| Water is empty before evening | Capacity, leaks, heat, and guarding | Add a second station and increase reserve volume |
| One hen waits to eat | Feeder edge and flock pressure | Separate feeding points beyond one bird's control |
| Bedding stays wet | Leaks, runoff, ventilation, and stocking | Remove wet material and correct the source |
At the coop
Inspection checklist
- Four hens keeps the workload manageable.
- Six hens gives you a little cushion in egg production.
- Skip the rooster unless your rules and goals clearly support one.
- High ventilation that does not blow directly across the roost
- A dry floor and drainage away from the building
- Hardware cloth at vulnerable openings
- One nest box for roughly every three or four hens
References
- Penn State Extension: Successfully Raising a Small Flock of Laying Chickens
- Mississippi State Extension: Prepare Before Bringing Home Chicks
Checked August 18, 2026 · How sources are chosen
Breathing difficulty, uncontrolled bleeding, inability to stand, neurological signs, severe injury, or rapid decline require prompt professional care.