Coops & runs · Guide 02
Chicken coop design that still works in bad weather
Size, airflow, roosts, nest boxes, drainage, and predator resistance without the decorative distractions.
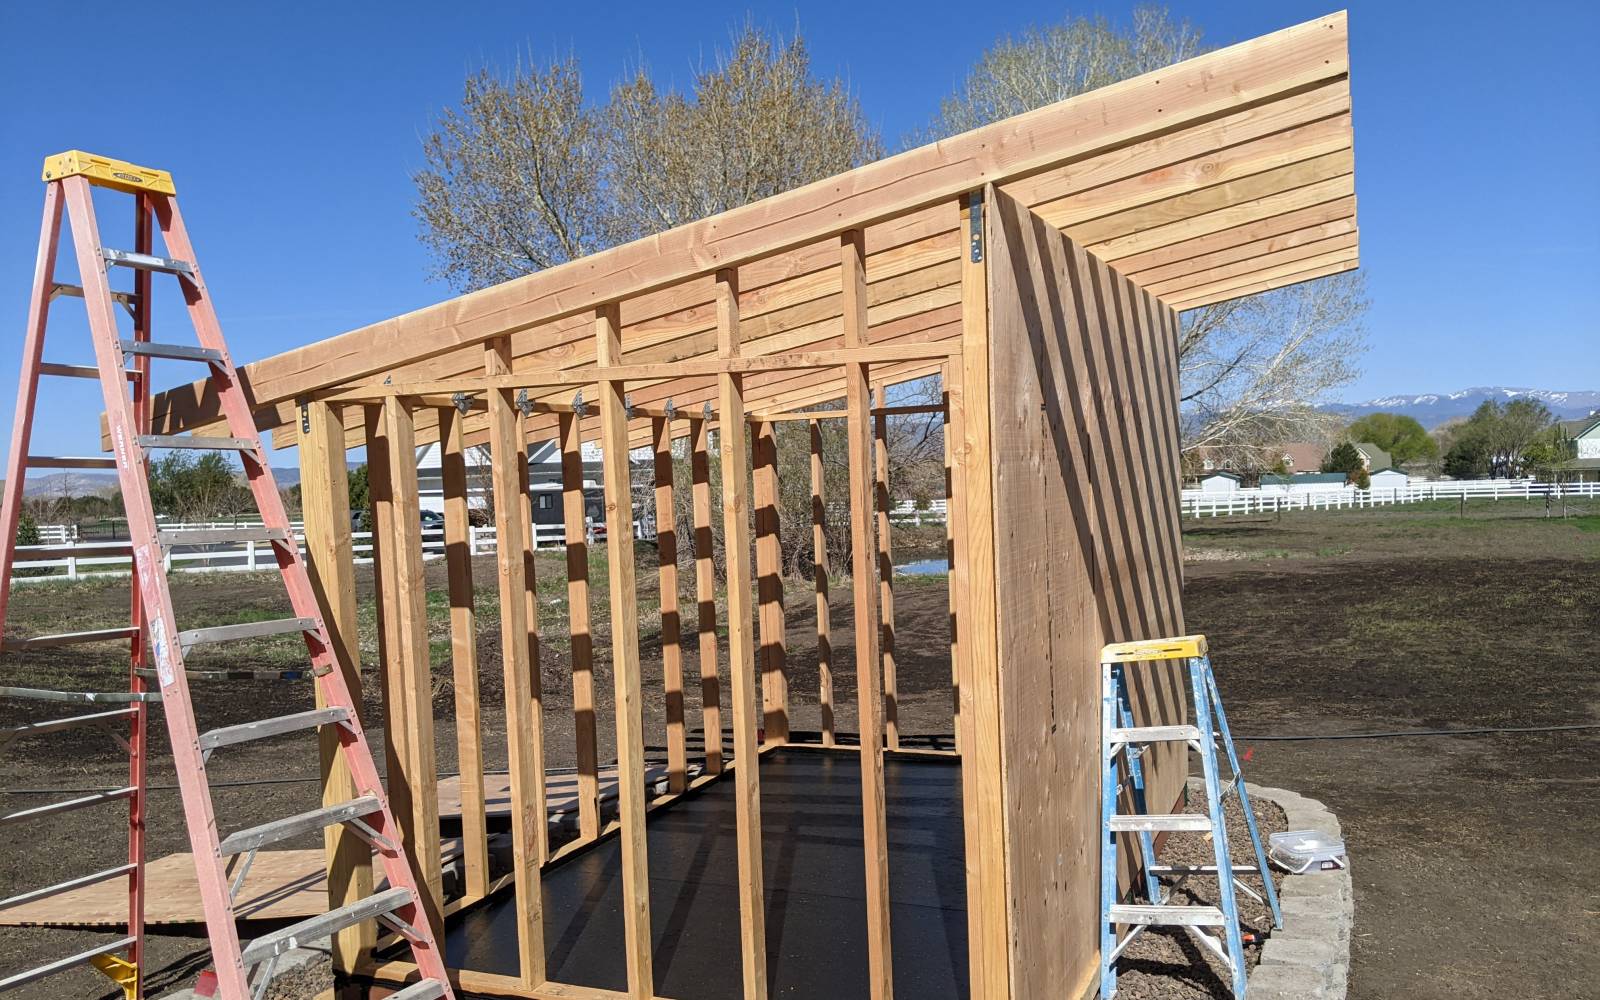
The best coop stays dry, moves stale air out above the birds, and makes every daily chore easy enough to do correctly.
Design around chores, not photographs
A charming roofline cannot make up for a door that is too small to clean through. Start with the movements you will repeat: carrying feed, changing water, scraping bedding, collecting eggs, and checking birds after dark.
Full-height human access is worth the space. Put the coop where water drains away, where you can reach it in winter, and where the run can receive both shade and sun.
- Reach every corner with ordinary tools
- Keep water away from roosting spots
- Use latches that require more than one simple motion
- Leave room to isolate a bird temporarily
Ventilation is not the same as a draft
Chickens release moisture through breathing and droppings. Without an exit high in the coop, that moisture condenses on cold surfaces and keeps bedding damp. The result is stale air, sharper ammonia, and a flock living in worse conditions than the thermometer suggests.
Openings above roost height let warm, damp air leave without directing wind at resting birds. If the coop smells sharp when you open it in the morning, improve airflow and remove wet bedding rather than trying to seal the building tighter.
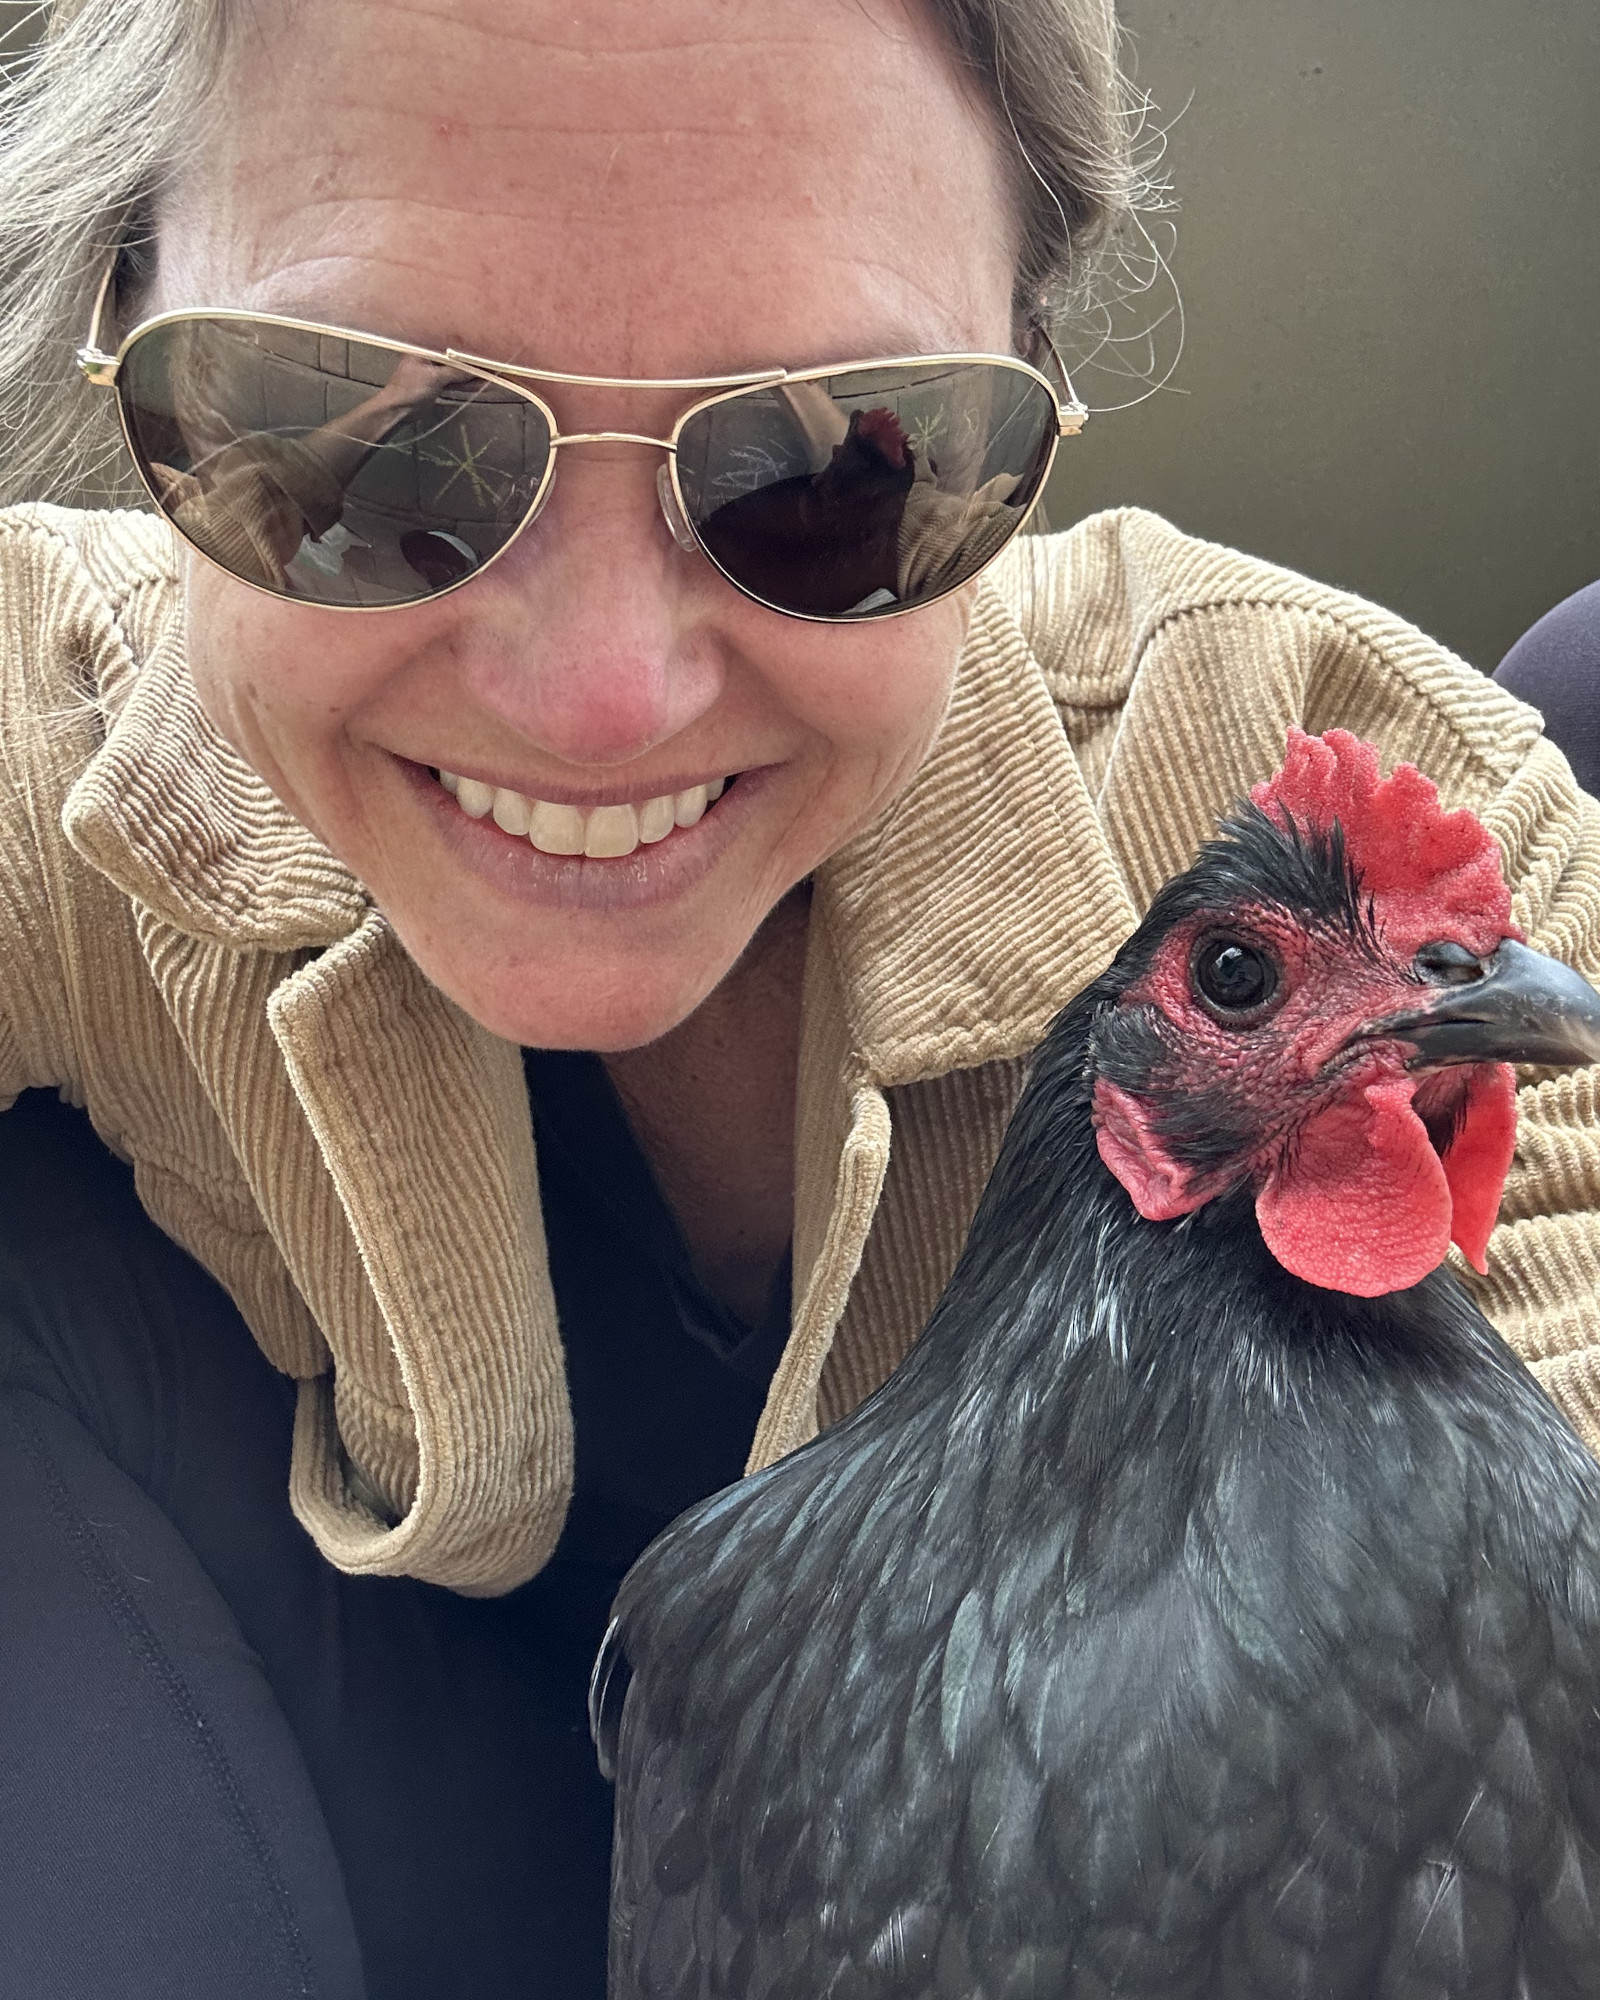
Give flock behavior enough room
Crowding changes behavior before it looks dramatic. Lower-ranking hens lose access to feed, birds peck each other on the roost, and bedding becomes dirty faster. Floor space also has to be usable; a feeder, waterer, and badly placed nest boxes can consume the room birds were supposed to have.
Use broad, stable roosts with enough linear space for every bird. Place nest boxes lower than the preferred roost so hens are less tempted to sleep in them.
- About 8 to 10 inches of roost space per standard hen
- One nest box per three or four hens
- At least 8 to 10 square feet of run per bird when confinement is common
Treat the run as part of the housing system
Chicken wire keeps chickens in; it is not reliable predator protection. Use half-inch hardware cloth where paws, beaks, or snakes can reach. Address digging with a buried barrier or an apron extending outward from the perimeter.
Cover at least part of the run for shade and dry footing. Add visual breaks such as branches, low platforms, or panels so a timid bird can step out of sight without being trapped in a corner.
Judge a coop by the work it does
A coop can look charming and still fail at its main jobs. Judge the design by whether it stays dry, exchanges damp air, locks securely, and gives you easy access for cleaning, egg collection, and inspection.
Reject any plan that requires crawling through droppings to collect eggs, hides birds from view, or uses doors and latches that bind in cold weather. Those problems become daily chores long after the novelty of the building wears off.
The run is not an afterthought
The run is part of the flock's living space and predator barrier. Use a rigid frame, fasten mesh with structural staples or screws and washers, and protect the lower edge against digging. A small gap at ground level is enough to lose a flock.
Use half-inch galvanized hardware cloth at openings a predator can reach. Stop digging with buried mesh or an outward-facing apron, and secure run and coop doors with latches that require two separate motions. Test every edge by pulling and lifting from outside the enclosure.
Cover part of the run so birds have dry footing and shade without losing all winter sun. Grade the roof and ground so runoff moves away from the enclosure instead of soaking bedding near the door.
A coop should make chores easier
Build the coop around repeatable chores. Birds need stable roosts, fresh air above roost height, accessible nests, and a door that closes securely. You need standing access to inspect corners and remove bedding without dismantling the interior.
Once those jobs work in rain, wind, heat, and cold, appearance can follow.
Measure usable space, not the outside footprint
Measure the open floor where birds can stand and move after subtracting nest boxes, storage, feeders, and any area beneath equipment that stays wet or inaccessible. A six-by-eight building does not provide forty-eight square feet of usable floor if a third is blocked. Do the same calculation in the run and identify corners where a dominant bird can trap another.
Space recommendations are starting points, not performance guarantees. Heavy breeds, long winter confinement, mixed ages, and birds with different mobility often need more room and more duplicate resources. Behavior is the final test: every hen should be able to leave the roost, reach feed and water, and move away from conflict without crossing a single narrow choke point.
- Measure doors at shoulder and tool height
- Count open roost inches after brackets and walls
- Map feeder and waterer access from both sides
- Leave an unobstructed route for a carrier or wheelbarrow
Commission the coop before trusting it
Inspect the finished structure at noon, at dusk, after rain, and on a windy morning. Sit at roost height and feel for direct air movement. Shine a flashlight from inside at night while another person looks for gaps from outside. Pour water near the uphill edge and watch where it travels instead of assuming the grade works.
For the first month, check fasteners weekly and look for fresh digging, condensation, damp litter, rub marks around doors, and wire pulling away from frames. Materials settle and animals test the same weak point repeatedly. A short commissioning period catches failures while they are still repairs rather than losses.
Plan maintenance into the structure
Use removable panels or wide access doors where litter accumulates. Keep electrical connections above dust and water, protect cords in conduit where appropriate, and avoid surfaces that cannot be scrubbed. Store replacement latches, washers, and a patch of matching hardware cloth so a small breach can be repaired the same day.
Set two recurring inspections: a quick weekly perimeter walk and a slower seasonal audit. The seasonal audit should include roof edges, buried or apron wire, roost stability, nest attachment, drainage, fan guards, and every screw or staple carrying predator-resistant mesh.
Decision table
What to do with what you see
| Signal | Check next | Response |
|---|---|---|
| Sharp odor at first opening | Wet litter and high-level airflow | Remove moisture and increase safe ventilation |
| Birds sleep in nests | Roost height, comfort, and access | Make roosts safer and more desirable than boxes |
| Fresh digging at the edge | Apron depth, seams, and nearby weak points | Confine birds securely and reinforce before dusk |
At the coop
Inspection checklist
- Reach every corner with ordinary tools
- Keep water away from roosting spots
- Use latches that require more than one simple motion
- Leave room to isolate a bird temporarily
- About 8 to 10 inches of roost space per standard hen
- One nest box per three or four hens
- At least 8 to 10 square feet of run per bird when confinement is common
References
Checked August 12, 2026 · How sources are chosen
Breathing difficulty, uncontrolled bleeding, inability to stand, neurological signs, severe injury, or rapid decline require prompt professional care.